Into the Wild—Type 1 Diabetes Essentials
Written by: Ashika Parsad
8 minute read
November 15, 2015
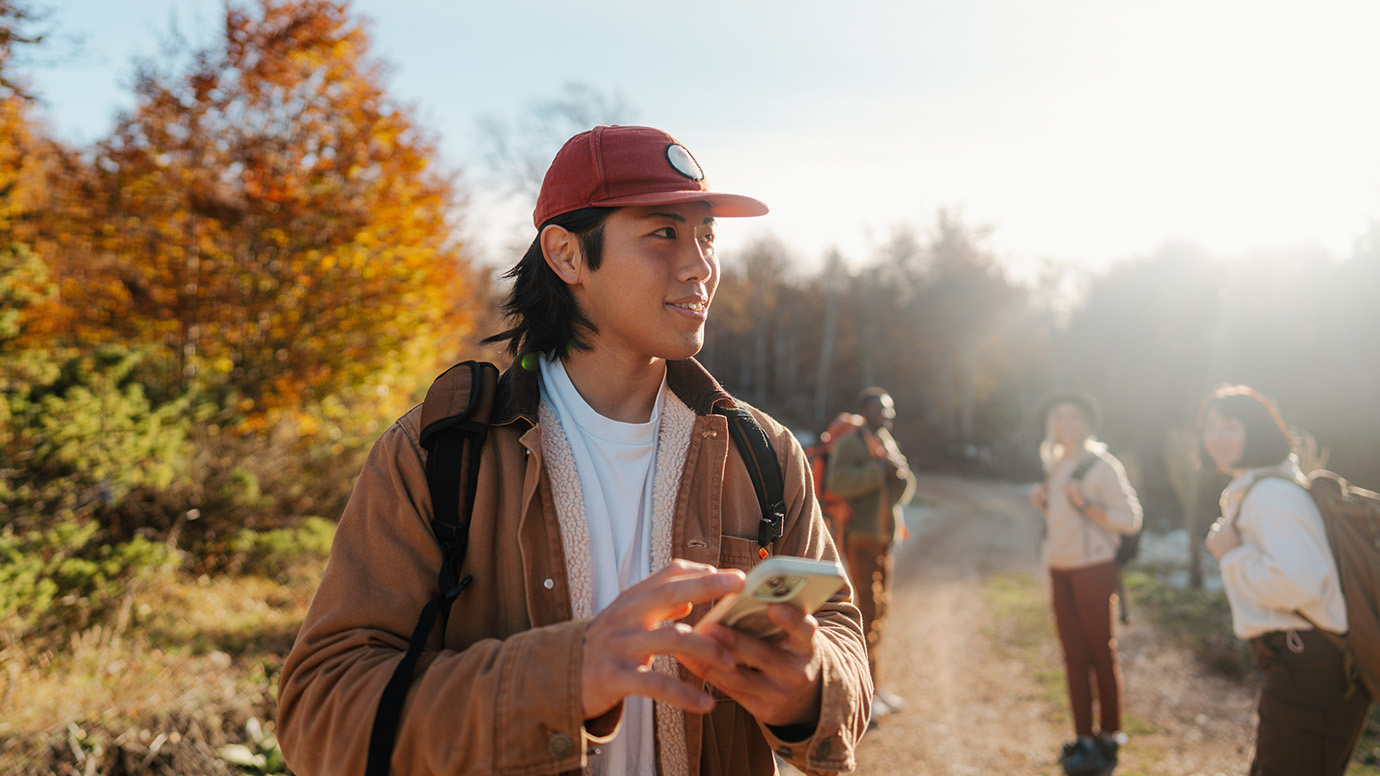
Many of us adore spending time in the mountains, whether on a multi-day trek, a long day trip, or a short hike. While I try to pack as lightly and efficiently as possible, there are a few things I will not leave home without to make sure I’m prepared for unforeseen situations.
Generally, no one plans to have a “bad” day. The weather forecast shows sun, you make plans to head out in the mountains, be it hiking, cycling, or running. You anticipate having an amazing day, right? You’ve done this before, you’re heading up a familiar trail, what could possibly go wrong? Unfortunately, bad weather, a wrong turn, unexpected injury, or unstable blood sugars can turn an easy day into an extended emergency.
In extreme conditions, you can generally live:
- Three hours without shelter
- Three days without water
- Three weeks without food
The rule of 3s provides a guideline on how to prioritize basic survival needs: shelter, fire, water and food—often, in that order. People with type 1 diabetes (T1Ds), however, may require a different approach to survival.
As T1Ds, our priorities are distinct. We can’t begin to think about building ourselves a shelter or a fire, or signaling for help, without stable blood sugars.
Many factors affect our blood sugars including: exercise, stress, insulin, glucose and hydration. Without stabilizing our blood sugar levels, it would be difficult to handle an emergency in the outdoors. Various triple-checklists of emergency gear have been compiled, generally known as “The 10 Essentials.” As T1Ds, we have a few different things to prioritize to stay safe in the outdoors.
The Classic 10 Essentials
1. Map
2. Compass
3. Sunglasses and sunscreen
4. Extra clothing
5. Headlamp/flashlight
6. First-aid supplies
7. Fire starter
8. Matches
9. Knife
10. Extra food
The 10 Essentials System for a Type 1 diabetic
1. Food and water
2. Insulation
3. Illumination
4. Communication
5. Navigation
6. Signaling Device
7. First Aid Kit
8. Shelter
9. Fire Kit
10. Knife/Tools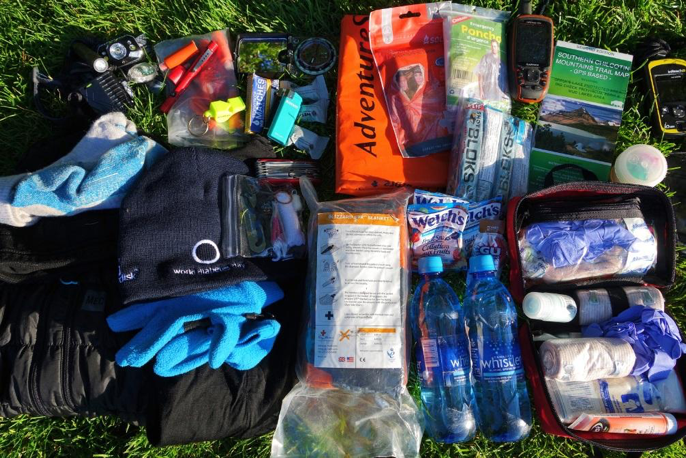
1. Food and water This is self-explanatory. I generally pack more than two days worth of food on all of my hikes. As a type 1, I need a sufficient supply of sugar in case I have a low; I always carry multiple emergency stashes of shot bloks and gels.
I carry 3L of water in a water bladder, which I can always refill if there are available water sources; I also pack water treatment. Any form of a filter or purifier would work to treat water in case you need it. For long day trips, it’s good practice to restock your water supply at the last obvious source.
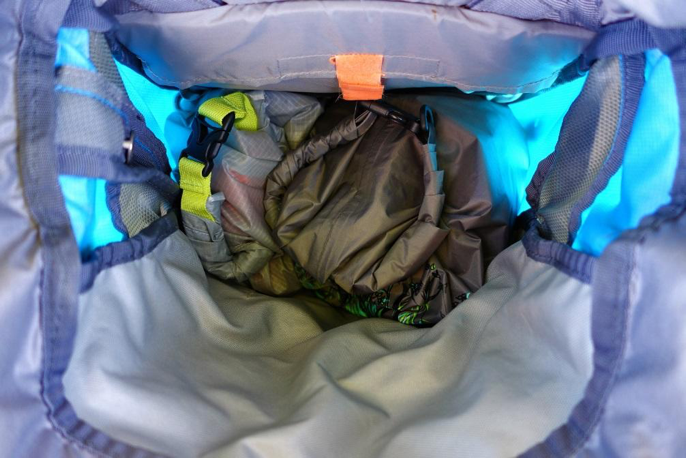
2. Insulation Meaning, extra layers for warmth. Pack your layers according to the season. Your extra layers may vary from: wool base layers, a toque, down sweater, wool socks and gloves. Ask yourself what is required to sustain the worst conditions you may face during this trip. If you need to spend an unexpected night in the mountains, chances are it will be colder than you think.
I use a stuff sack to store my layers. This helps keep everything dry and waterproof.
3. Illumination There are several options for light, including a headlamp and a hand-held flash light. I prefer using a headlamp. If I’m hiking out after sunset, a headlamp allows me to focus on my foot placement and terrain, instead of focusing on my balance while holding a form of light. It’s small, light weight and offers long battery life.
Hand-held lights also have value. They are cost efficient and can be very powerful—this is useful for signaling during emergencies. In addition to my headlamp, I carry mini turtle lights from MEC as backup.
4. Communication Cell phones rarely work in the backcountry due to lack of reception. If you bring your cellphone with you, try to keep it turned off or on “airplane mode” until you need it. This will help keep your battery from draining. If you have reception, knowing how to retrieve your GPS coordinates from your phone will help rescuers find you quickly. Instructions can be found on the North Shore Rescue page.
I hike with a two-way satellite device, the Delorme InReach. It can send and receive text messages and SOS by satellite from anywhere in the world, allowing you to let your family and friends know you’re okay or to alert search and rescue if there is an emergency.
Communication is not limited to carrying devices in the outdoors. Do others know where you are going and when you are expecting to return? I share my trip plans (including route details and destination) with my family; if I run into trouble, I can bet someone will sound the alarm and call for help.
5. Navigation The classic approach to navigation is using a map and compass. Add in your cell phone*, a GPS, any tracking device and you can easily add multiple items to your system.
A topographic map should be with you on anything more than a short, hard-to-miss trail. A compass ($50.00) is light-weight and does not require batteries. Though, I rely on my Garmin GPS for navigation, carrying a compass and knowing how to use it is vital.
*Cell phones with a built-in GPS should be approached with caution—using this feature drains the phone’s battery, potentially leaving hikers lost and without means of communication.
6. Signaling device A means of signaling includes and is not limited to: whistle, bear bangers/flare and mirror (usually attached to a compass). If you are lost or injured on a trail, a signaling device can help rescue crews find you.
A Fox 40-type whistle works best in all weather. If you are lost and trying to signal for help, you can blow a whistle longer than you can shout. Three blasts is a standard distress signal.
7. First Aid A first-aid kit is the best way to go. You can find these at your local drug store or outdoors outfitter. They include: treatment for blisters, splints for breaks, bandages, gauze pads, cotton, medical tape, ointment, scissors, pain medication and latex gloves. I purchased my first-aid kit from MEC and customized it for my own needs.
8. Shelter There are several cost-efficient options for emergency shelters, on top of what you may be able to build in the forest. This is an important item if you’re planning a day trip. If you’re out on a hike and you get lost or injured along the trail, you could be stranded for a while before help arrives. Here are some options to shield yourself from the rain, wind and cold: large plastic/garbage bag, foil blanket and a bivy sac.
9. Fire Kit This can help keep you warm, give light, repel animals and provide psychological comfort. A fire kit may include: waterproof matches, a lighter and fire starter. These supplies are best stored in a waterproof container or bag (ziplock works fine).
Fire starters will help you speed up the process of starting a fire by igniting quickly and burning long enough for the fire to catch, especially in wet conditions. If you do not want to purchase this for your kit, you can make it at home with a few house hold supplies: lint trappings (from your dryer) mixed with paraffin, candles, priming paste and/or wood clusters soaked in resin.
10. Knife/Tools A pocket knife or multi-tool with a good blade has many uses, including: gear repair, food prep, first aid and cutting branches/foliage when building your shelter and fire.
Plus Six Essentials for Type 1 Diabetes (in addition to your normal supplies)
11. Test Strips (for current and backup monitor)
12. BG Monitor (and batteries)
13. Infusion Sets & Batteries (for pump)
14. Insulin (long and short acting)
15. Syringes/Insulin Pen
16. Nasal glucagon (BAQSIMI) or Glucagon Kit
A few notes on my list of diabetes supplies:
- I carry both long and short acting insulin & syringes in case my backup reservoir & infusion set malfunction.
- I carry a second blood glucose meter and associated test strips and batteries, in case my current meter malfunctions.
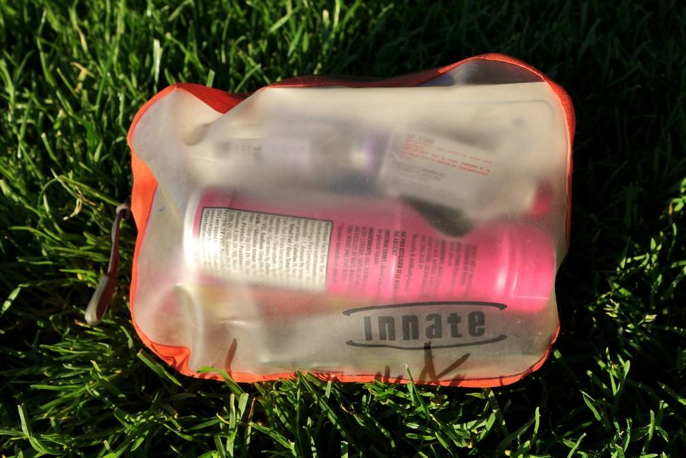
- I carry my main supplies in an Innate travel pouch. The pouch is made with waterproof materials and works well all-year round. I haven’t had any trouble with my meter’s temperature rating during winter activities in snow.
- For extended trips, I use either a Frio cooling wallet or a wool sock to store my insulin—depending on the time of year.

If something should go wrong on the trail, do you have the knowledge and equipment to help yourself or others in need? Do you know what to do in an emergency situation outdoors? Will someone know you are missing? If you are injured or lost, will rescue crews know where to look for you? Do you have enough gear to spend a cold, wet night out in an emergency?
I’m a fan of multi-use gear. I’ve learned not to compromise safety in exchange for a lighter pack. Huge bonus, these items don’t take up much room in my pack.


Through my own personal experiences and through experiences of others, I’ve provided this list in hopes to offer effective and cost efficient alternatives of emergency items for safe travel in the backcountry.
Whether this serves as a reminder or a new perspective, I hope everyone stays safe and enjoys the summer, type 1s and non-type 1s alike!

Author
Ashika Parsad
Ashika Parsad is an outdoor adventurer living in Vancouver, BC. She is a type 1 of 21 years and believes diabetes has lead her to the most amazing people and the most beautiful places. She is currently studying Kinesiology to become a personal trainer/fitness coach for outdoor enthusiasts. When she's not in school or studying, she can be found in the mountains of coastal BC, pushing for a summit or camping next to an alpine lake while challenging her diabetes. She hopes to inspire and be inspired by like-minded type 1s on her journey. In June 2014, she was part of the world's largest group of people with type 1 diabetes to summit Mt. Kilimanjaro. This climb was to raise funds for a cure and to study the effects of high altitude endurance on diabetes management (research paper forthcoming). To follow Ashika's adventures, you can visit her website: www.ashikaparsad.com or find her on social media using #adventuresofaT1D.
Related Resources

We all have a diagnosis day. It is a day that would be tough to...
Read more
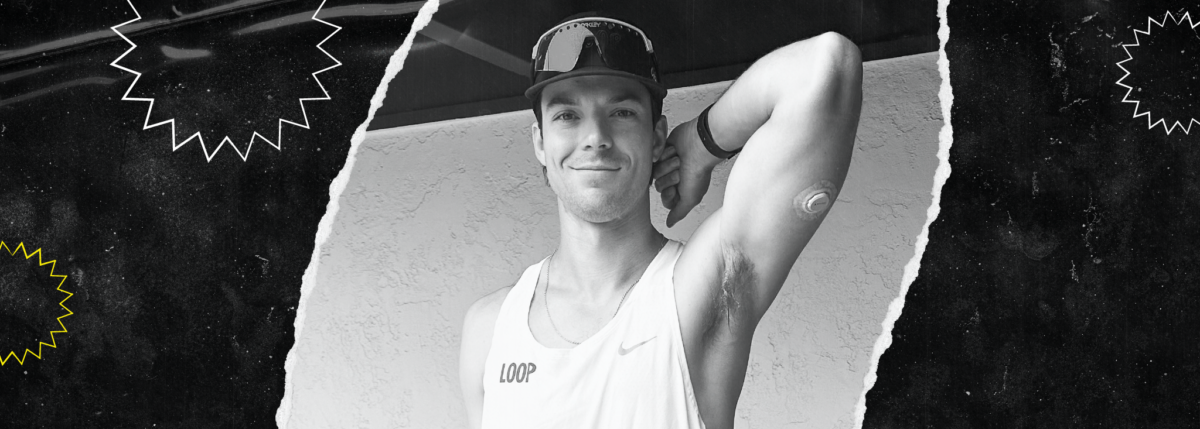
Jordan Sooter’s journey to running marathons began in college as a way to stay fit....
Read more
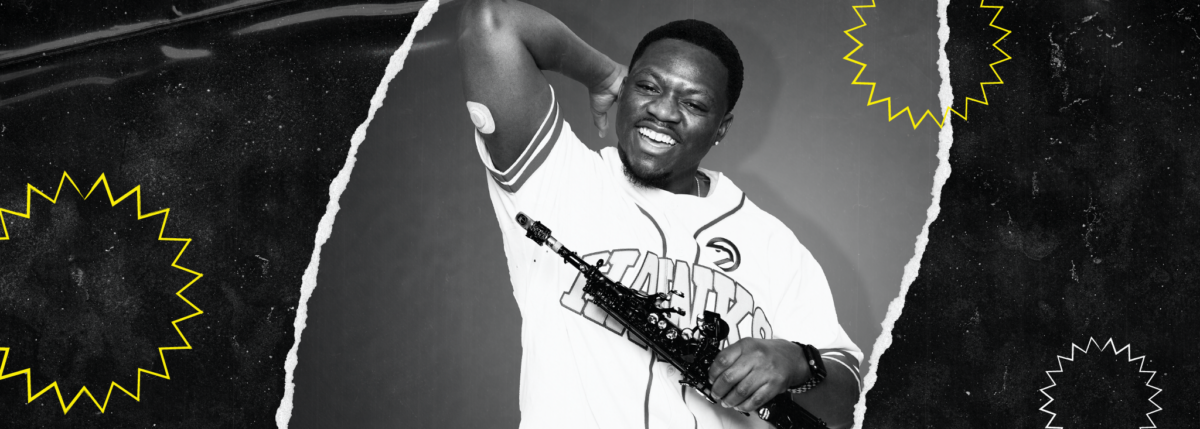
Antoine Gibson is no stranger to overcoming challenges. As a saxophonist and marathon runner living...
Read more