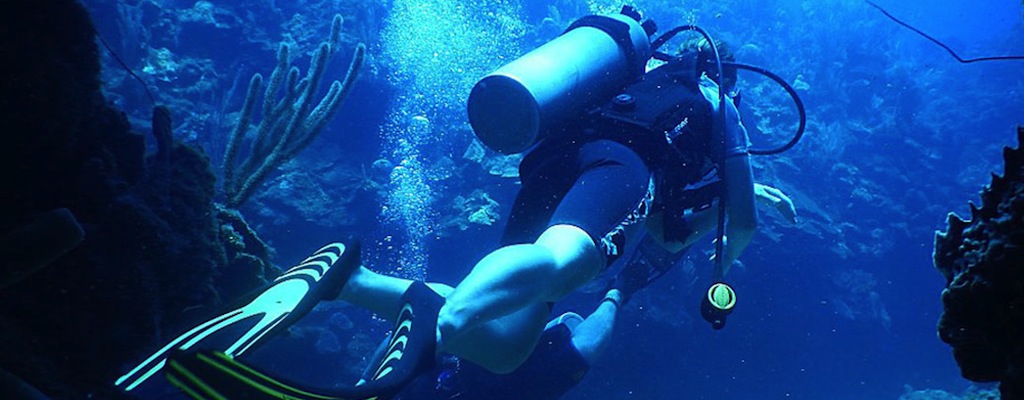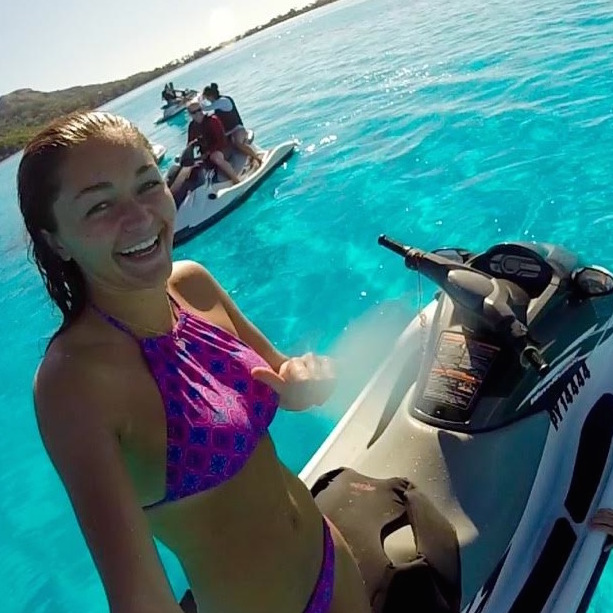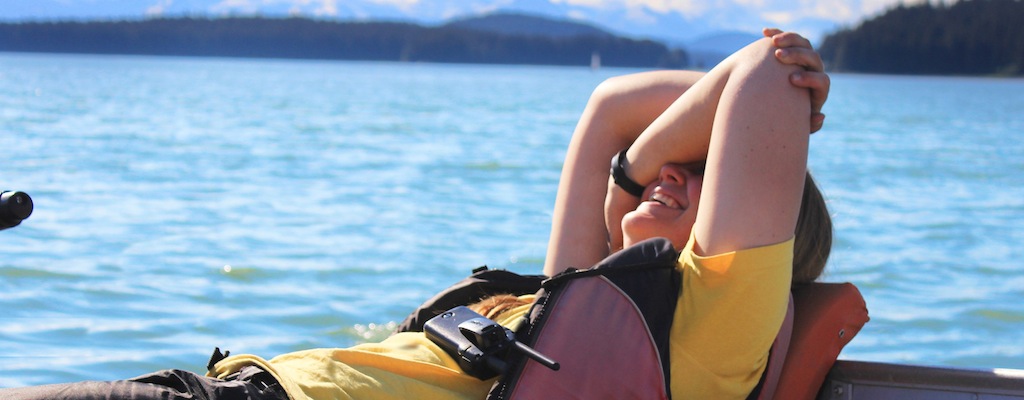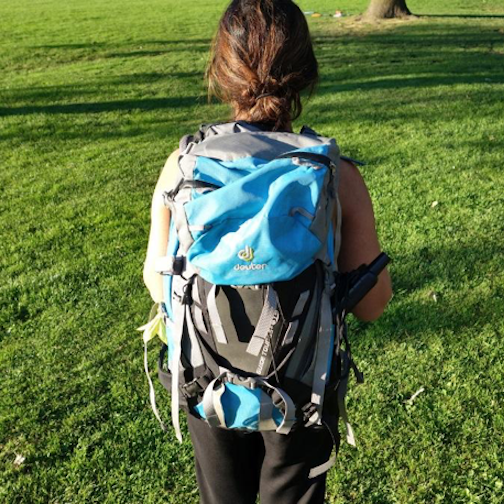
Travel + Adventure
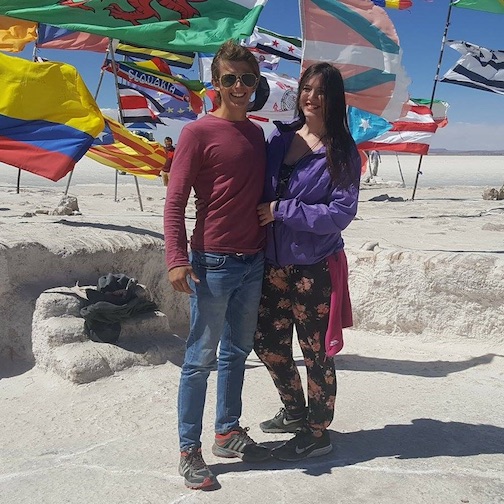
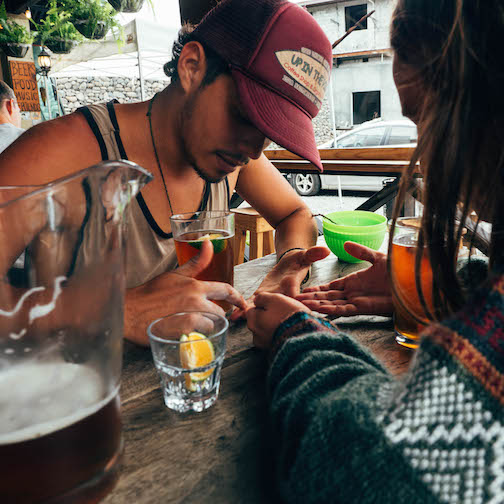
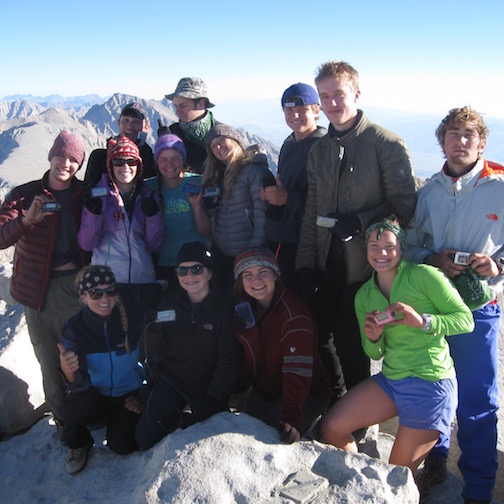
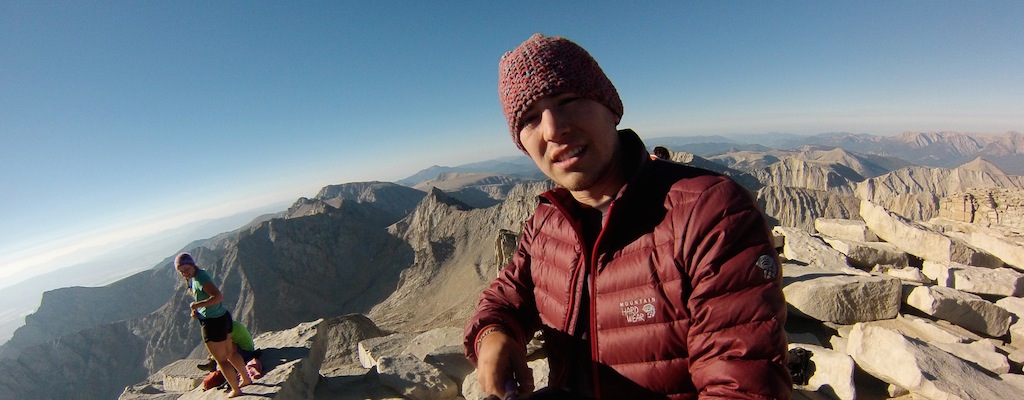
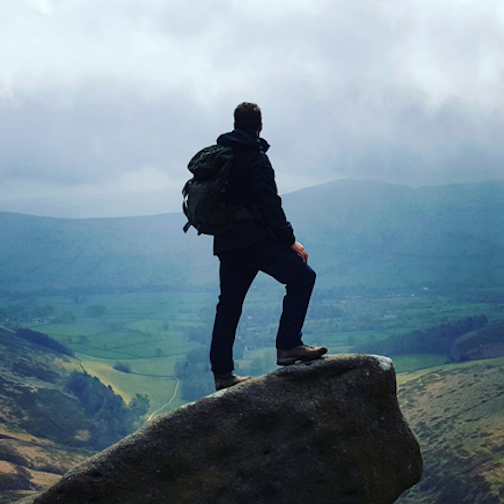
Whether through local or international destinations, travel or having an adventure changes the way you see the world. Travel helps you gain new perspective and a better understanding of our planet, humanity and the cultures within it. Adventure can test our limits, teaching us new skills while giving us a sense of accomplishment. Both can test what you thought you knew about others and yourself. It can also test your type 1 diabetes management. Ideally, you’ve prepared well enough that you don’t run into surprises concerning your care, but sometimes the unexpected happens and you have to make do. Here are our travel + adventuring basics from packing and airport travel to personal stories of surviving customs, jet lag and that next big wave. Bon voyage!
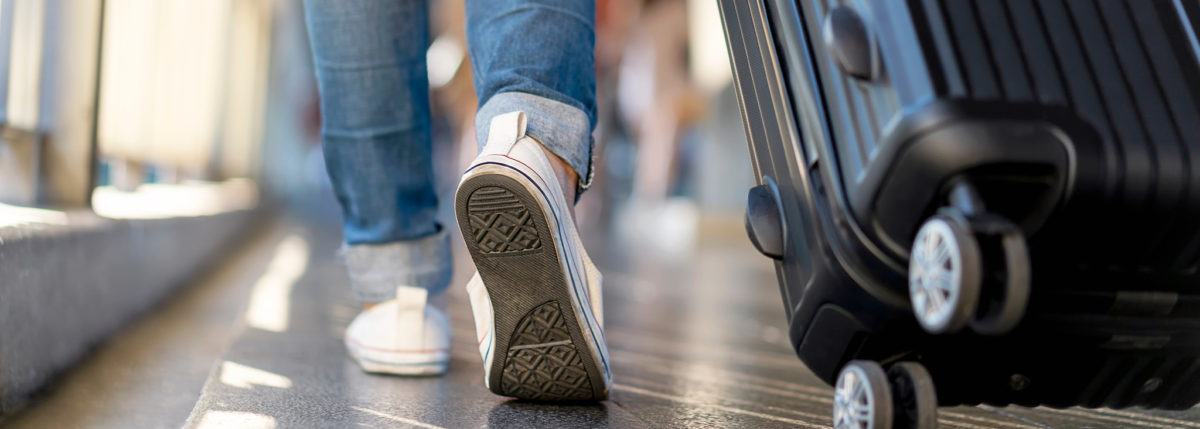
Traveling is one of life’s great pleasures and people with type 1 diabetes (T1D) are taking off and exploring the world with ferocity. The key to getting the most from a trip borrows from the Boy Scout adage: Be Prepared. If you have T1D you can go anywhere and do anything, you just need strategies firmly in place.
T1D Travel Tips
1. Whether traveling for work or pleasure, know your destination. People with diabetes live everywhere and they all need supplies. Just make certain you know where to find them and how to seek medical help if needed! For English speakers the International Association for Medical Assistance to Travelers is a great source.
2. Check with your health insurance to understand if you have coverage at your destination. Purchase additional travel insurance if needed, with coverage for pre-existing conditions.
3. Gather your arsenal of supplies and don’t pack light! Go for twice as many supplies as you normally would need. It’s smart to split supplies between two bags—a carry-on and a suitcase, for example—in case of loss or theft, but keep insulin in your hand held luggage to protect from cargo bay temperatures. Include:
- An extra meter
- Batteries
- Any parts of a pump that might get damaged or malfunction. (Many pump companies will provide a “loaner pump” for overseas travel at no extra cost.)
- If you pick up insulin abroad buy new syringes as well. (American insulin and syringes come U-100, while other countries sell U-40 or U-80.) Understand what you are injecting!
Check out our complete T1D On-The-Go Kit
4. Identify yourself! Carry a letter from your doctor with your care routine and wear a medical ID bracelet or tags.
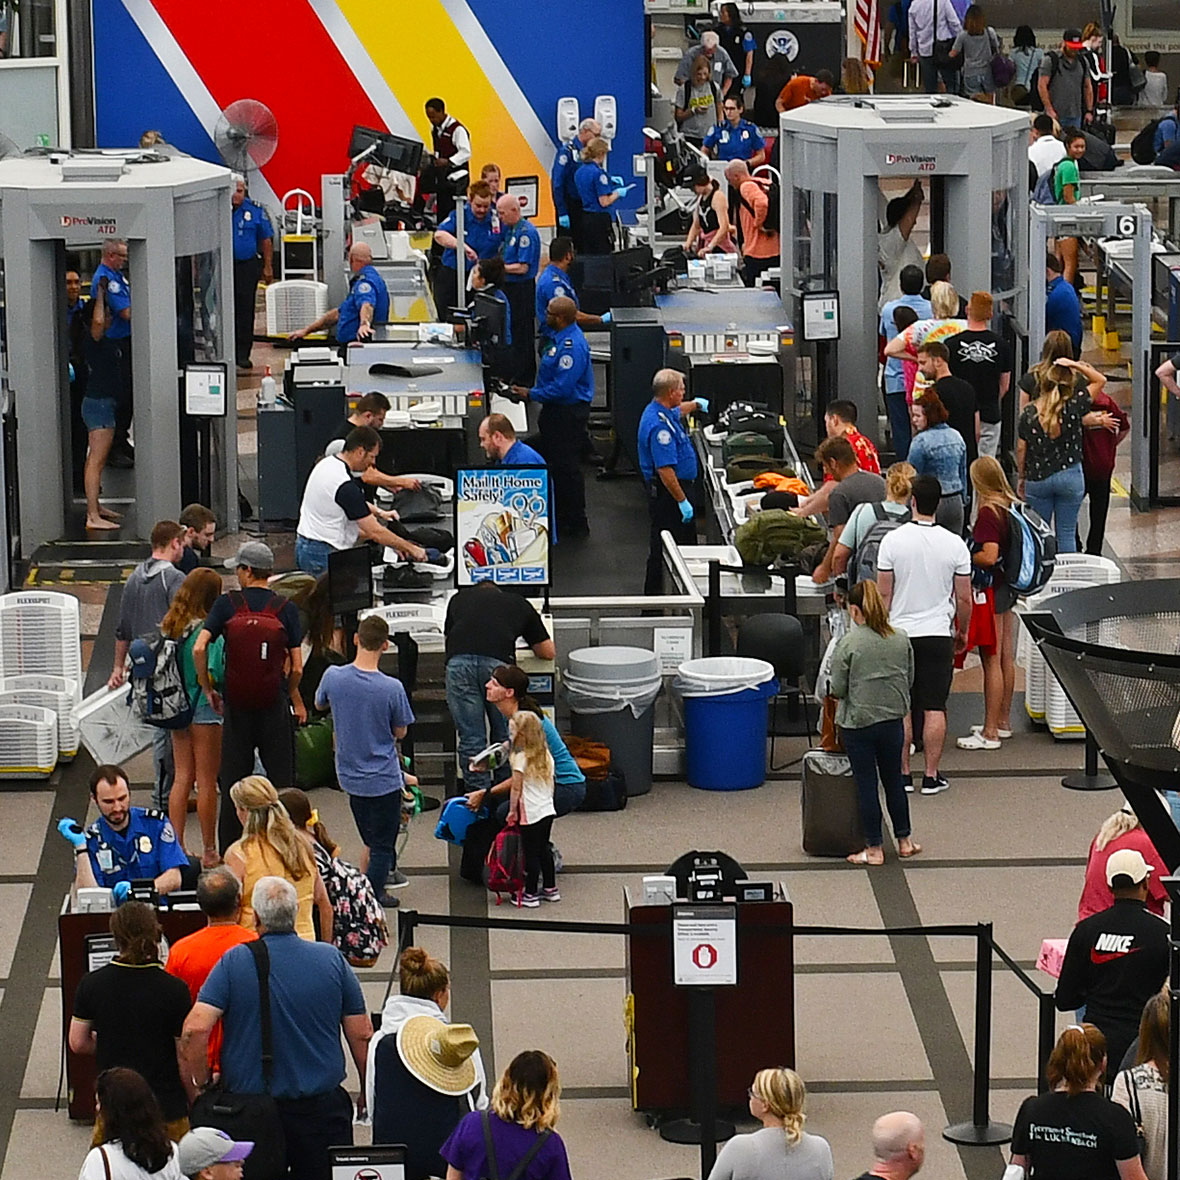
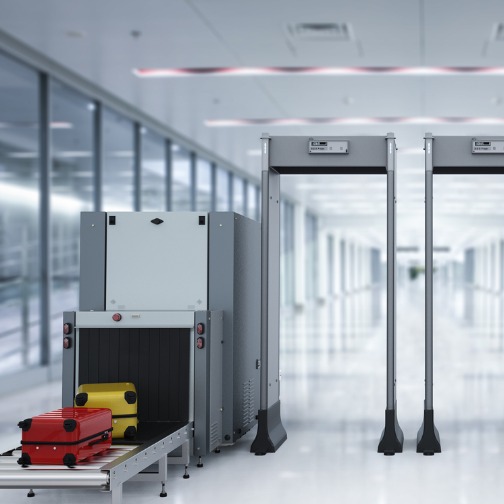
5. Know your rights—especially when traveling through airport security. Feel free to identify your needs to the agent in charge before approaching the scanner. You are allowed to carry your medical supplies, including emergency juice and liquids, even if greater than 3 ounces. Manufactures typically recommend removing your pump or continuous glucose monitor (CGM) before going through the full-body scanner and also recommend not sending devices through the x-ray machine. You can request a hand inspection and pat down if preferred.
In the US travelers requiring special accommodations or concerned about checkpoint screening may ask a checkpoint officer or supervisor for a Passenger Support Specialist who provides on-the-spot assistance. Request a Passenger Support specialist ahead of time by calling the TSA Cares USA hotline at 1-855-787-2227 approximately 72 hours prior to flight.
Read Type 1 & TSA: What to Know Before Taking Off (for USA and Canada)
6. Time zones—stick with yours until landing! As a general rule, diabetes management is based on a 24-hour cycle and adjustments in insulin are most recommended if traveling through more than five times zones. By keeping the time set to the original departure zone, dosing for meals will be easier, just remember to adjust all clocks upon landing. If traveling west, the day is longer and more insulin may be needed, traveling east means a shorter day and possibly less.
7. Create a worst-case-scenario backpack. In anticipation of long waits or unexpected delays, be sure to carry plenty of “low” supplies as well as carb-free snacks and any other necessities.
8. Create a packing list for all future travel and check and double check—especially when moving between locations. Consider keeping clear plastic bags of extra supplies all ready to go. These “travel bags” make preparing easy—just check to be sure you haven’t depleted supplies or any are expired—then grab and go.